 I’ve started the long, slow, tedious process of changing all the strings on my double-strung wire harp. If you haven’t read my earlier post on my difficulties with its strings, please feel free to read here.
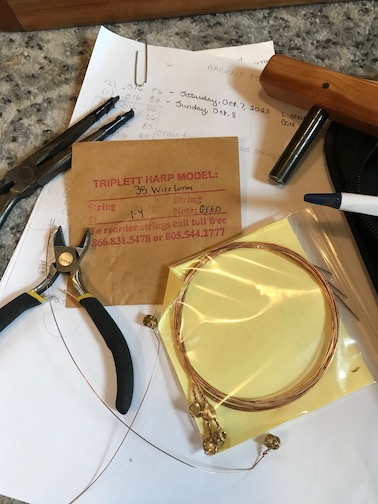
I made a list of all the strings that needed replacing, that is, the ones that are original to the harp and excluding the ones I put on to replace a broken string. There’s quite a few. 35 to be exact. I haven’t included the bass wire wounds yet at this point (twelve of those), because I haven’t decided what to do with them just yet.
I ordered replacement strings from Markwood Strings for this harp and also more from Triplett Harps, to replace the ones I’d raided from my Luna harp string bag.
In two days I replaced three strings: the topmost F’s and the right side Eb just below, and blue color-coded the F’s with a paint marker. It takes quite a few hours for the strings to come up to full tension, so this is not a weekend project. I expect this will probably take several weeks, if not a month, to do safely. The harp has bellied and it’s necessary to maintain continuous tension on the soundboard, so all of the strings cannot be removed at once. Likewise, removing even one string at a time increases the amount of tension on the two adjacent strings. Minimizing the potential for further breakage is key here. The last thing I want is a cascade! (All the strings break rapidly one after another in a matter of seconds, due to their inability to hold the remaining combined tension on the instrument).
The old strings are brittle and rough. They are like sandpaper to the fingernails and will quickly wear away an oval on your nail within minutes of playing. As I removed them, some broke like a dry winter twig, as I gently pried the coil away from the tuning pin. I tossed the stiff remains into a shoe box and compared the old strings with the flexible, elastic new ones I’m putting on. There is a visible difference in color as well as texture. The new strings are bright, untarnished and do not have any visible pitting or bends.
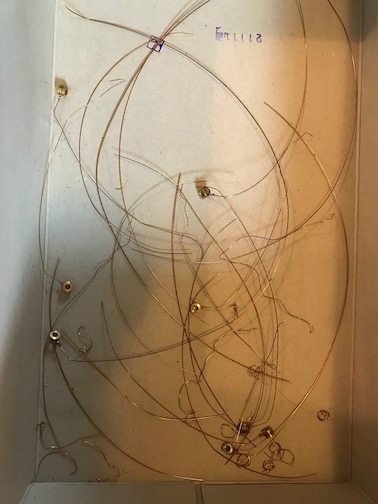
A shoebox full of dead harp strings
Setting the coil on the tuning pin is by far the fiddliest job and takes the longest, but it’s essential that it be done right, if I don’t want a repeat performance of more broken strings in the future. On a wire-strung harp, the wires must never wrap over each other on the tuning pins. Never. The force of the taut wires is much, much greater than on a nylon-strung “Celtic” harp and is such that after repeated tuning, the upper layer of string will slice like a knife through butter into the lower layer. Strings must be wound neatly, coiled parallel on the pin, never criss-crossing.
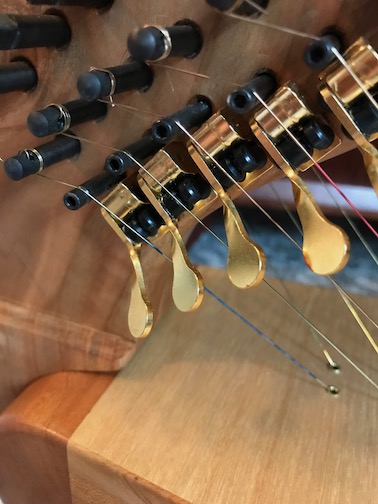
Newly strung wires! See the freshly painted blue F’s at top and the Eb next to them.
In a few days more harp strings will arrive in the mail and these strings’ tuning will have stabilized. They may go a little flat and need some touch-ups but for the most part, they’re there.
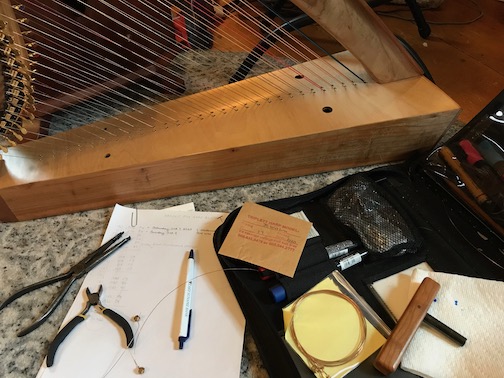
Getting ready to change some more strings!
Check back later as I continue to change out my strings. In a few days (or weeks), I hope to be replacing the bigger, heavier ones in the middle.